CutWatermark

Examples

Watermark removal, before and after

Compare six local image repairs on flat colour, gradients, brick, an illustrated face, an edge and woven fabric. See clean and failed results.

Each pair uses a synthetic image and the same browser repair algorithm as the workbench. The selection dimensions are in source pixels. Start with the image tool and compare your own result at its intended viewing size.

Flat logo on a clean background

112×62 px · Clean repair on the flat plate

A synthetic navy CW logo on a flat pale-blue background.
Before
The logo area is reconstructed cleanly with only a faint tonal transition.
After

Logo over a smooth gradient

126×60 px · Clean repair across the colour transition

A synthetic blue-to-amber gradient with an opaque CW logo.
Before
The smooth gradient is largely continuous through the repaired area.
After

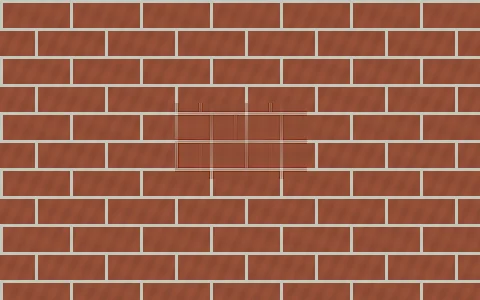
Logo crossing brick and mortar

132×76 px · Visible failure: the mortar joints do not line up
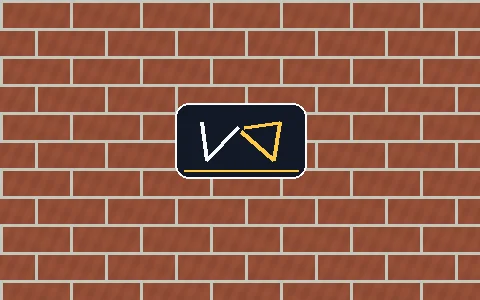
A synthetic brick wall with the opaque CW logo crossing brick and mortar lines.
Before
Brick and mortar detail remains mismatched inside the larger repaired rectangle.
After

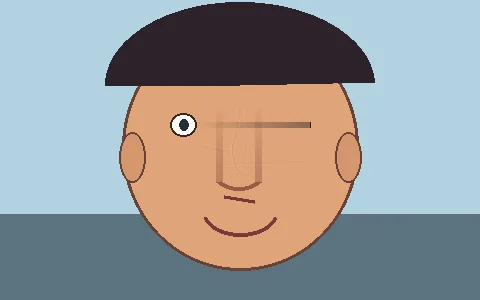
Logo crossing an original face illustration

112×78 px · Visible failure: the missing eye and facial contours do not return

An original procedural face illustration with an opaque CW logo crossing eyes, nose and cheek.
Before
Facial edges and features are not reconstructed reliably across this large mask.
After

Logo near a diagonal edge

120×54 px · Mostly clean; a faint trace remains above the diagonal edge

A small logo on a pale field above a sharp diagonal edge.
Before
The diagonal boundary remains visible and a faint trace appears where the logo was.
After

Logo over woven fabric texture

136×78 px · Partial repair: the weave softens inside the selection

A synthetic woven fabric texture with a CW logo crossing repeated threads.
Before
The broad pattern returns, but fine weave phase and contrast are visibly softened.
After